|
|
|
Gimp tutorials » glitter images | 3D effects | rainbow cliparts |
|
|
In GIMP, open the File menu and click - New 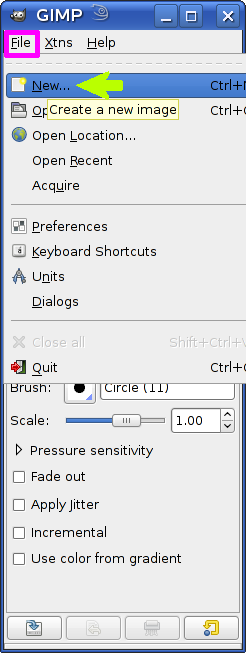
|
Create a New Image window opens Adjust Width - 640 and Height - 120 or the size you want 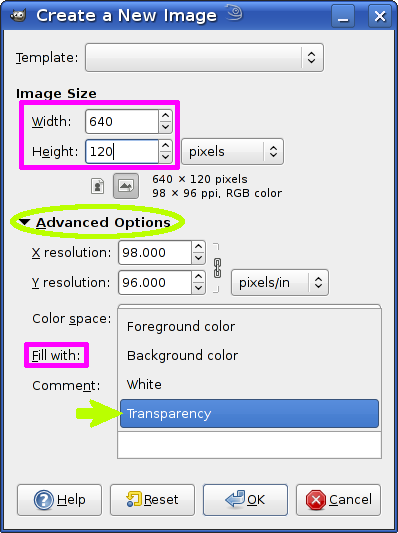
|
|
This is your image transparent background: 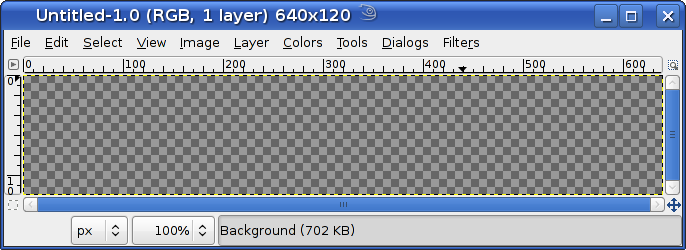
|
|
|
Now click the Text tool button 
|
Then choose Font - 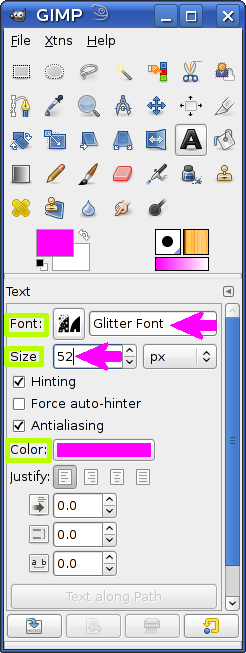
|
|
Now click inside the image and you have the GIMP Text Editor where you write your text with BIG letters: HAPPY NEW YEAR (we selected big caps because in this font the small caps don't have star decoration) 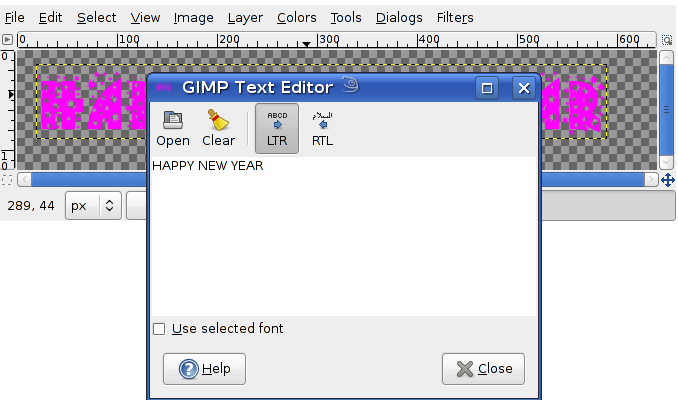
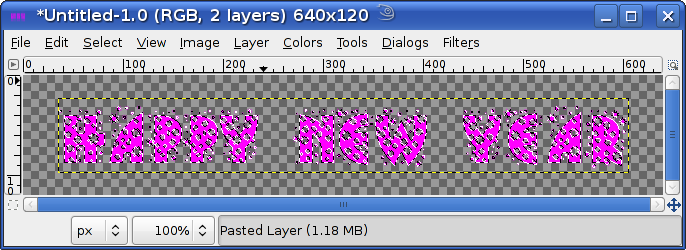
This is a 2-layer-image Now you do three important steps
Now you can fill the text with rainbow colors |
|
|
Activate the Blend Tool 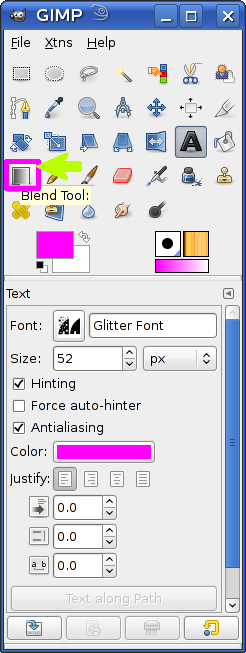
|
Choose a rainbow Gradient - Full saturation Spectrum CCW 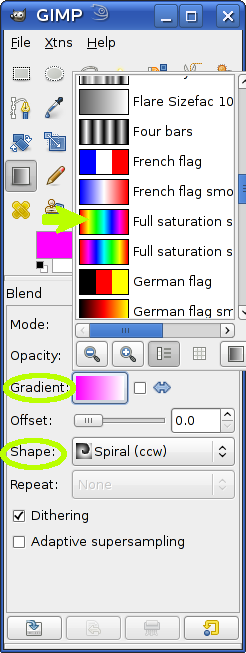
|
|
Click inside the image and draw a vertical line as shown on the picture: 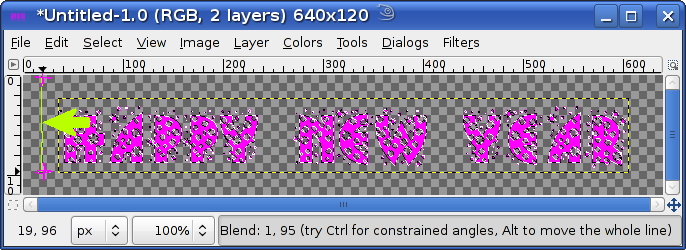
If you are not happy with the result do Edit-> Undo and try again You have the first rainbow image 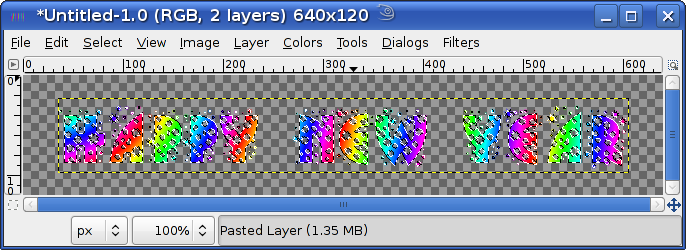
Now do Layer -> Anchor Layer 
You can save the image as a clipart. Click File -> Save as and save it as "png" - happy-new-year-rainbow-clip.png Or you may want to make an animation. Then add a new layer - Layer -> New Layer and then OK 
Now do Edit -> Paste to paste the text to the second layer 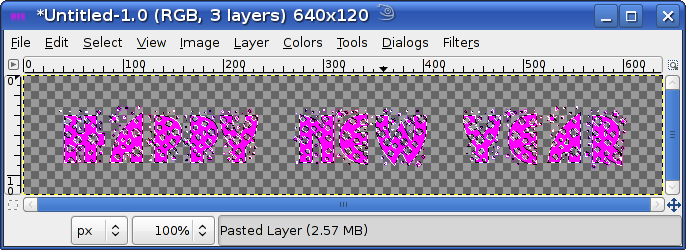
Change the gradient to Reverse by clicking the shown arrow: 
Use the Blend tool again just the same way as you did with the first text layer (draw vertical line) Then do Layer -> Anchor and the 2-layer-image is done  |
|
|
You have to save the clip as animated "gif" image: 
|
Increase the Delay between frames to 300 ms and click Save 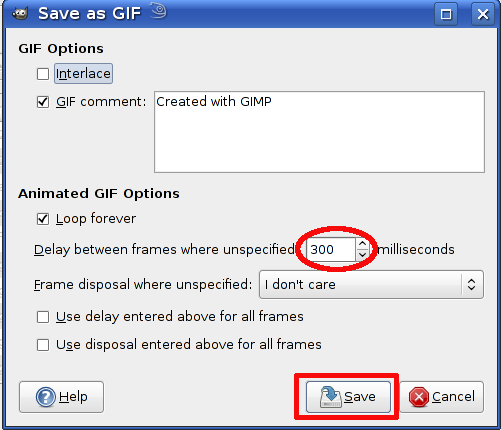
|
|
It is time to enjoy the vivid rainbow beauty Happy New Year - animation clip |
|
Click to learn how to create glitter text images with GIMP

